Abilities Plugin Marketplace
The official agent development toolkit for Claude Code. Curated plugins covering the full agent lifecycle - from scaffolding and onboarding to deployment, scheduling, and ongoing operations.
Build and Deploy Agents in Cursor
Apr 2026
Quick Start
New to Trinity? Install the trinity plugin and run /trinity:start-here— a guided, resumable journey from “what is Trinity?” to your first agent running on your own instance. It sequences everything below, so you don't have to pick a starting point:
/plugin marketplace add abilityai/abilities
/plugin install trinity@abilityai
/trinity:start-here
Prefer to drive yourself? From Claude Code chat:
# Add the abilities marketplace (one-time)
/plugin marketplace add abilityai/abilities

# List available plugins
/plugin list abilityai

# Install core plugins
/plugin install create-agent@abilityai
/plugin install agent-dev@abilityai
/plugin install trinity@abilityai
Or from the terminal:
claude plugin add abilityai/abilities
claude plugin install create-agent@abilityai
Set up in the Claude Code desktop app
Prefer clicking to typing? The Claude Code desktop app (macOS and Windows) has the same marketplace built into Settings — no terminal required. It resolves to the same abilityai/abilities marketplace as the CLI. Here is the whole flow, start to finish.
Open Settings
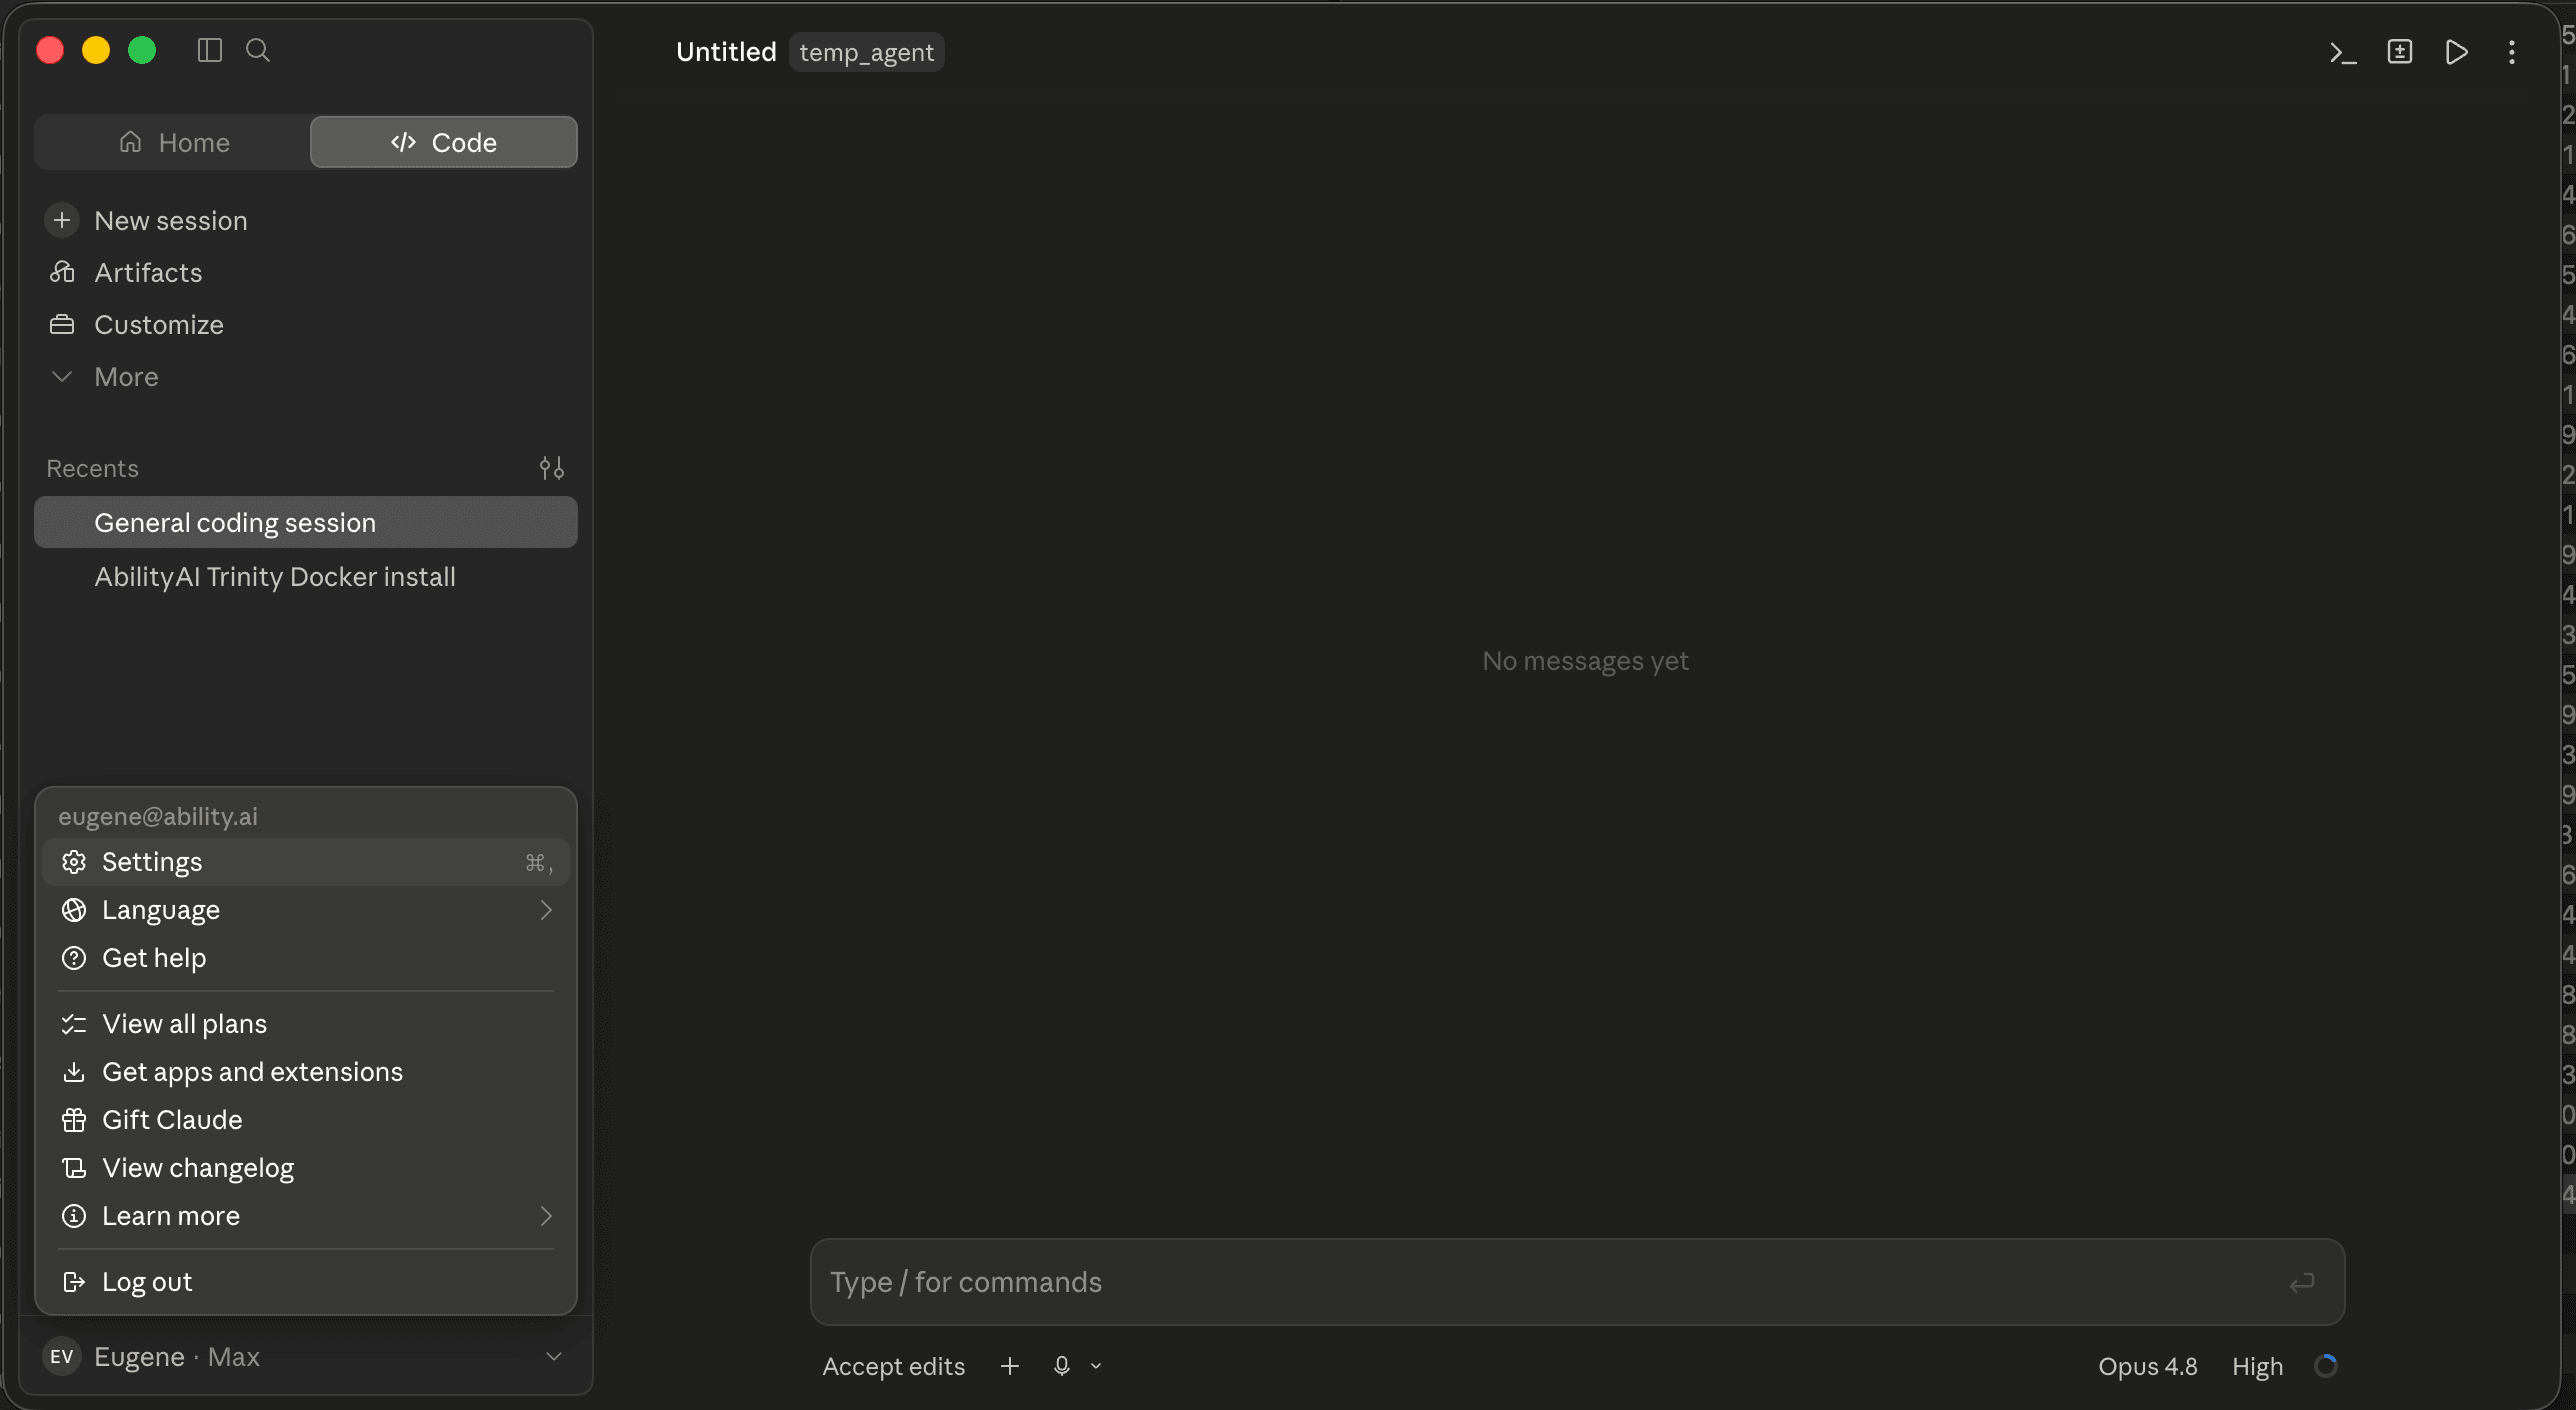
From your account menu at the bottom-left of the sidebar, choose Settings (or press ⌘,).
Open the Plugins tab
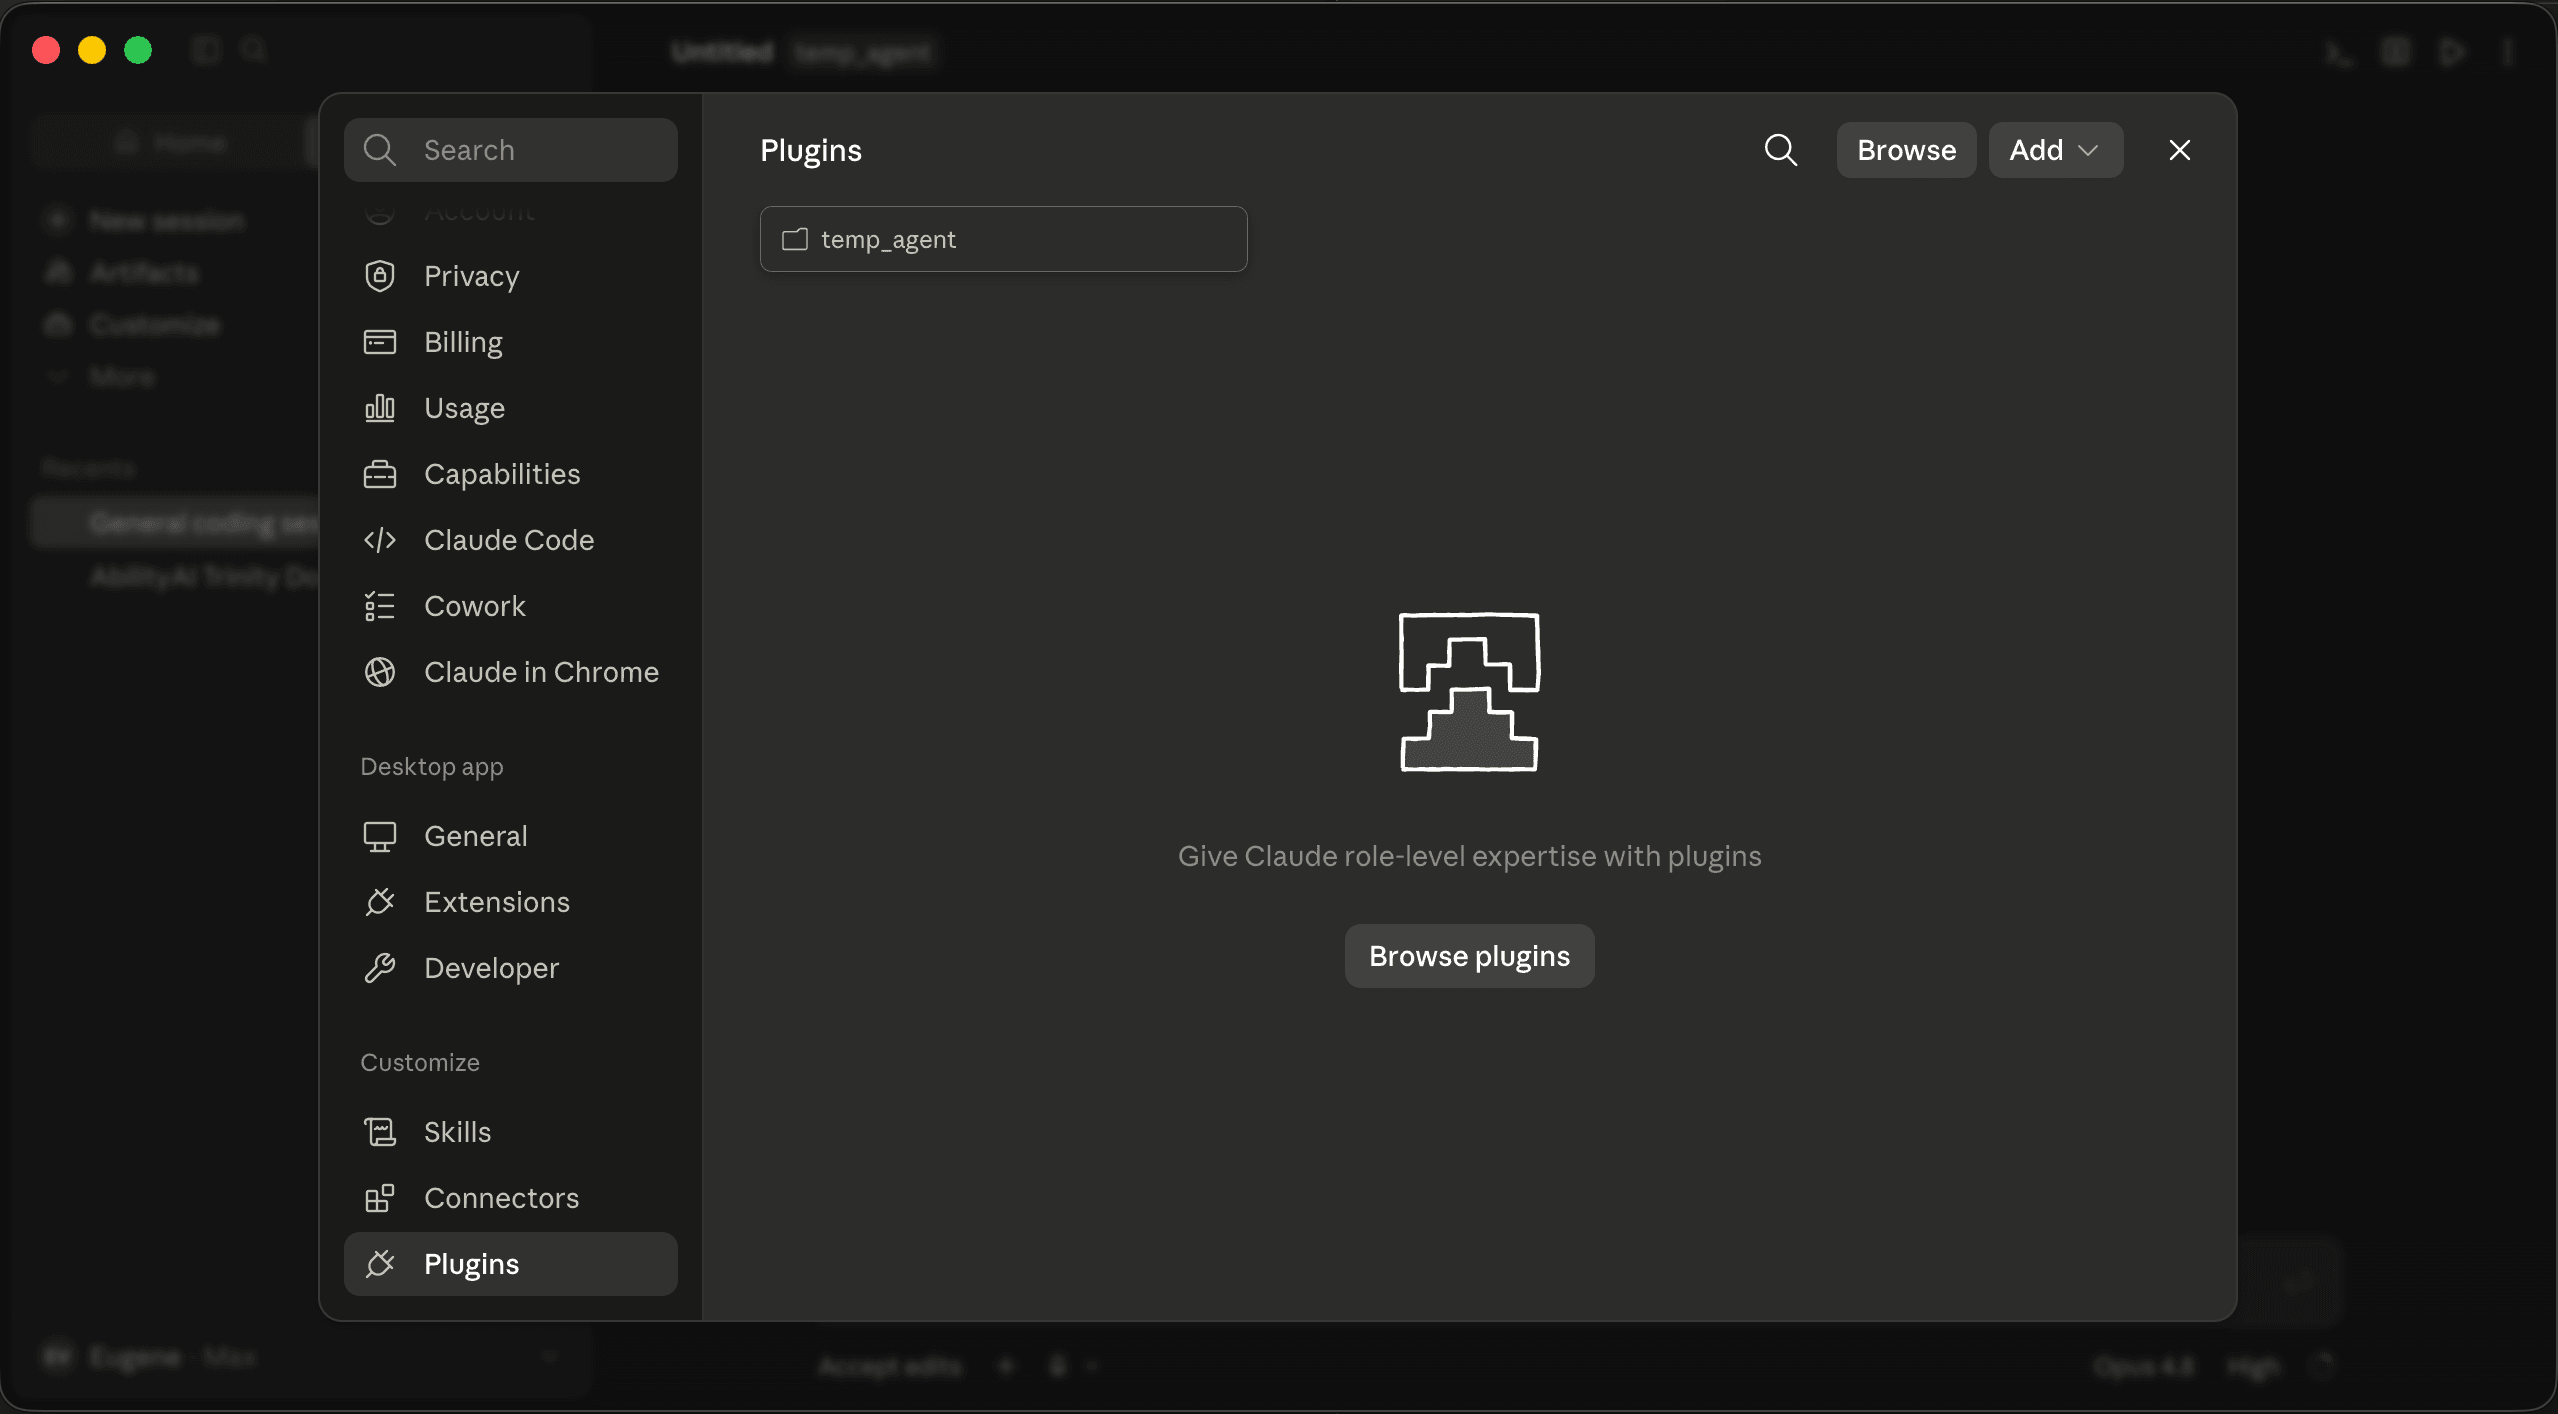
In the Settings sidebar, under Customize, select Plugins.
Add a marketplace
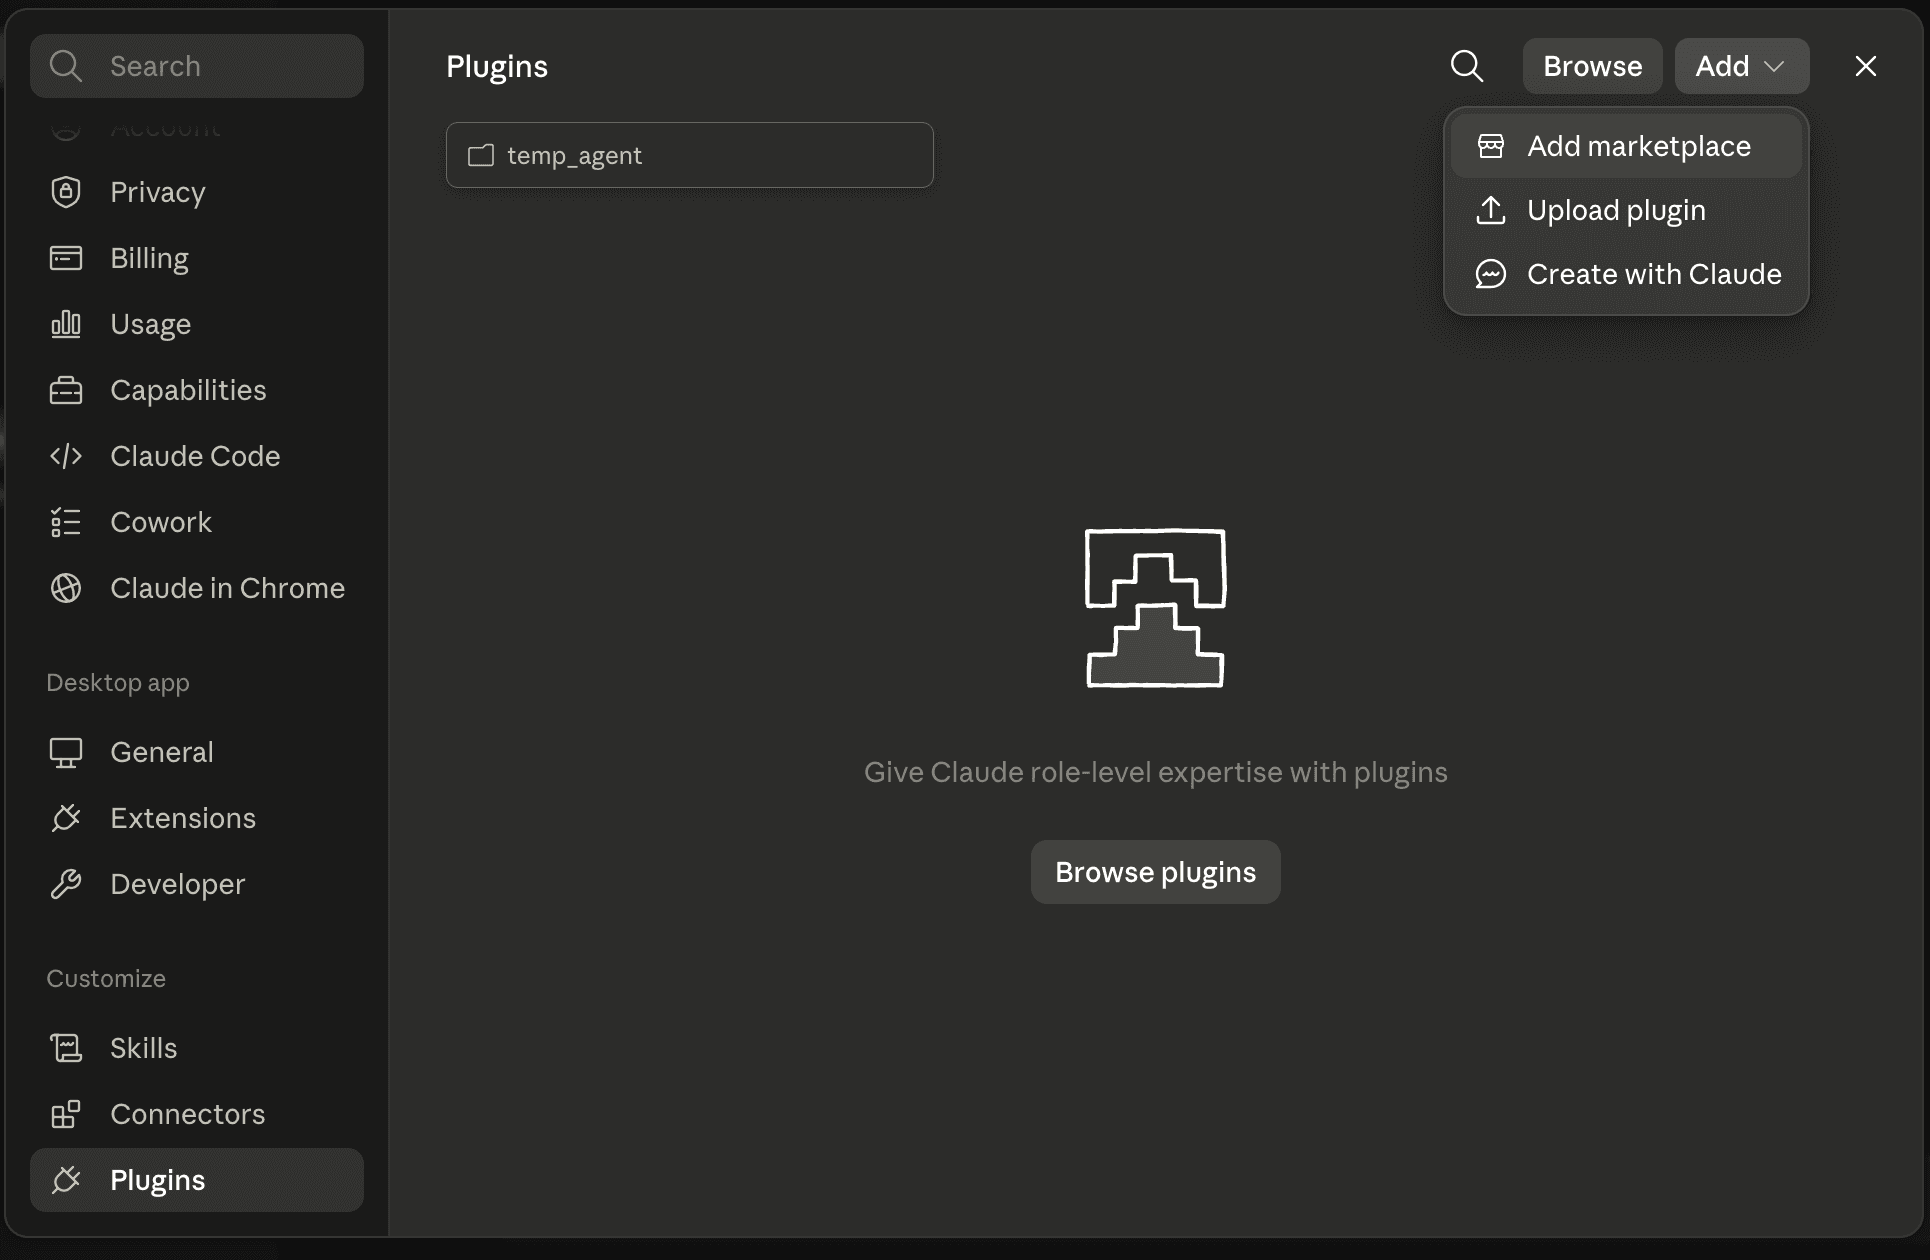
Click Add ▾ in the top-right of the Plugins panel and choose Add marketplace.
Add from a repository
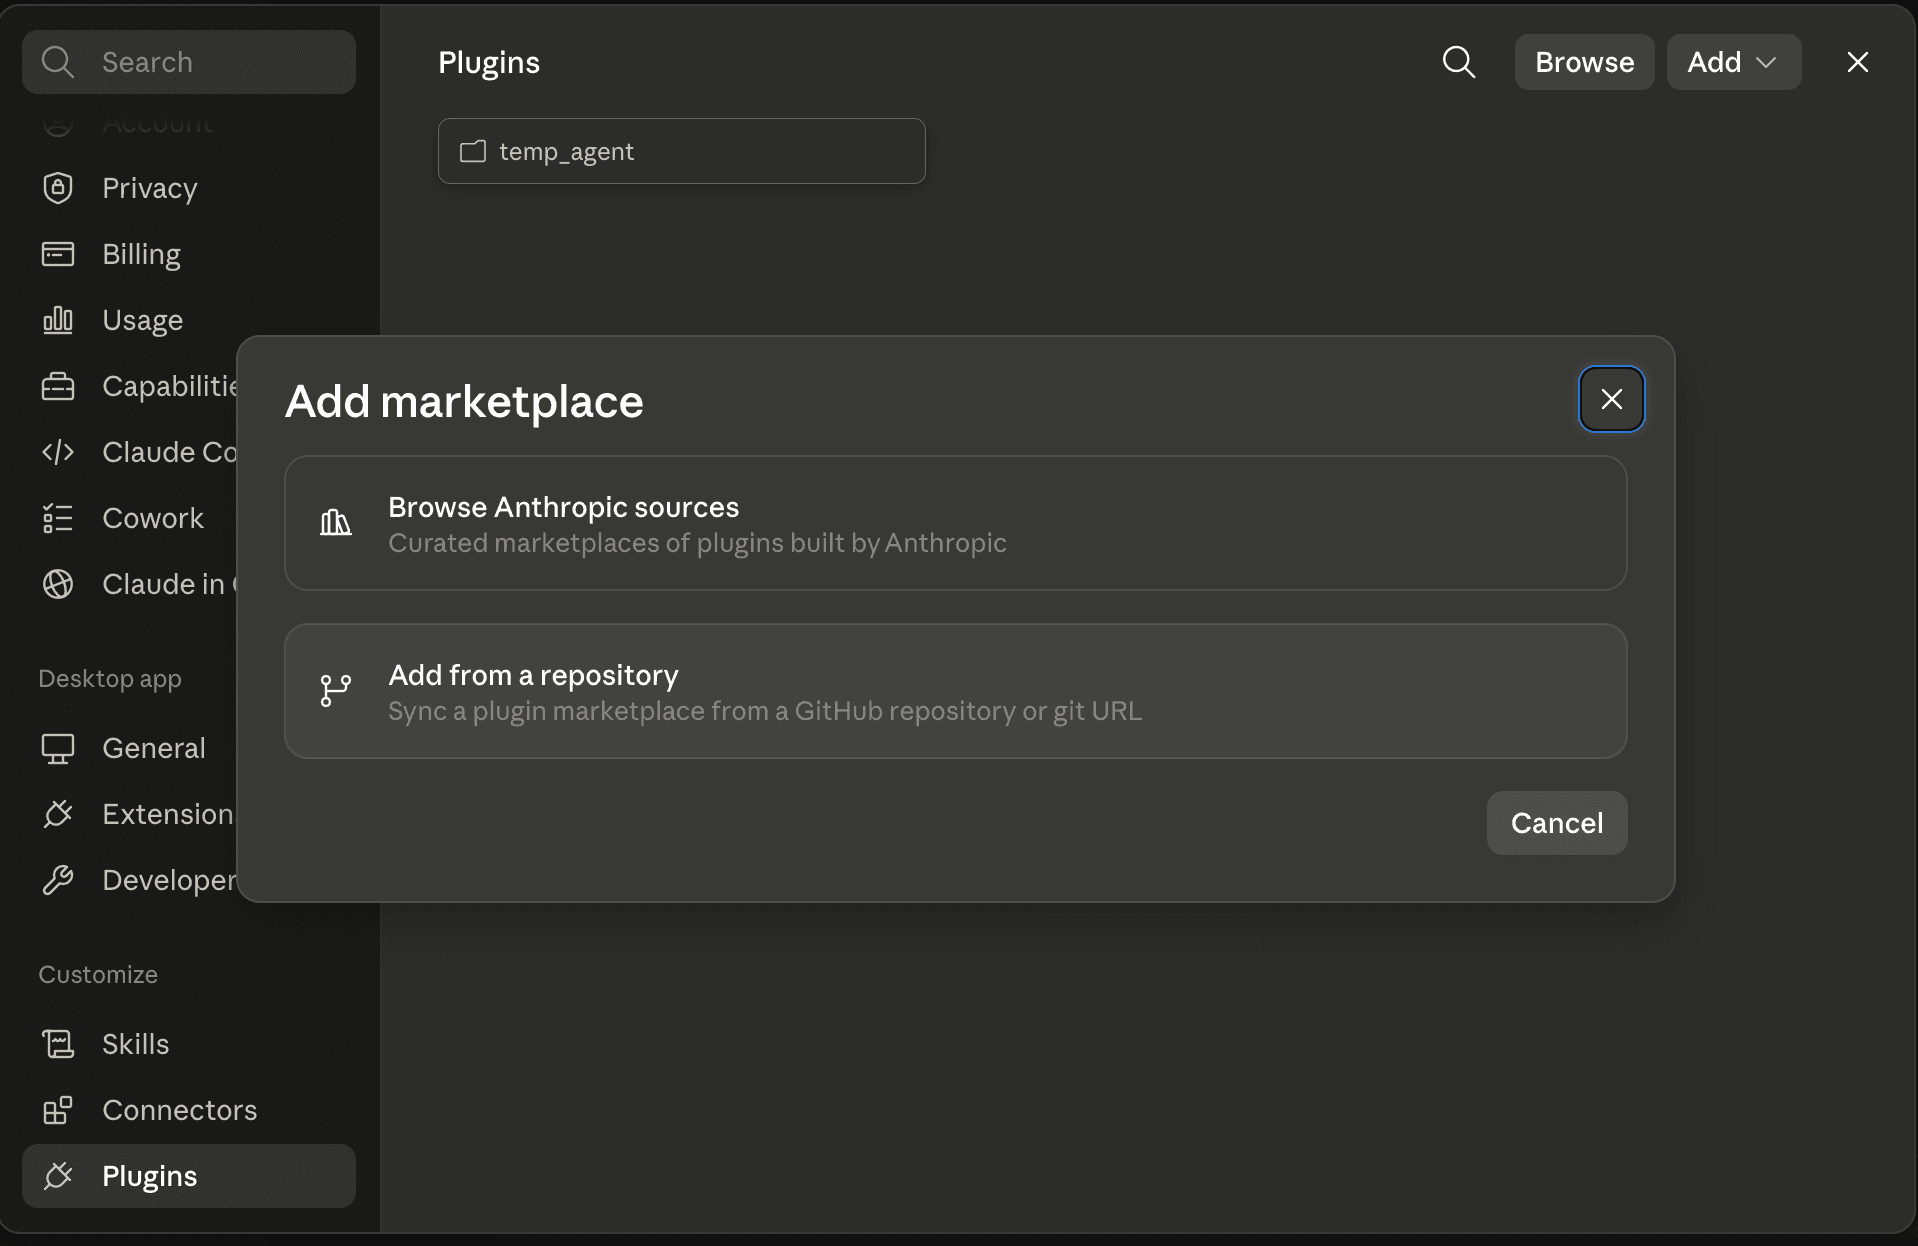
In the Add marketplace dialog, pick Add from a repository — “Sync a plugin marketplace from a GitHub repository or git URL.”
Enter the repository
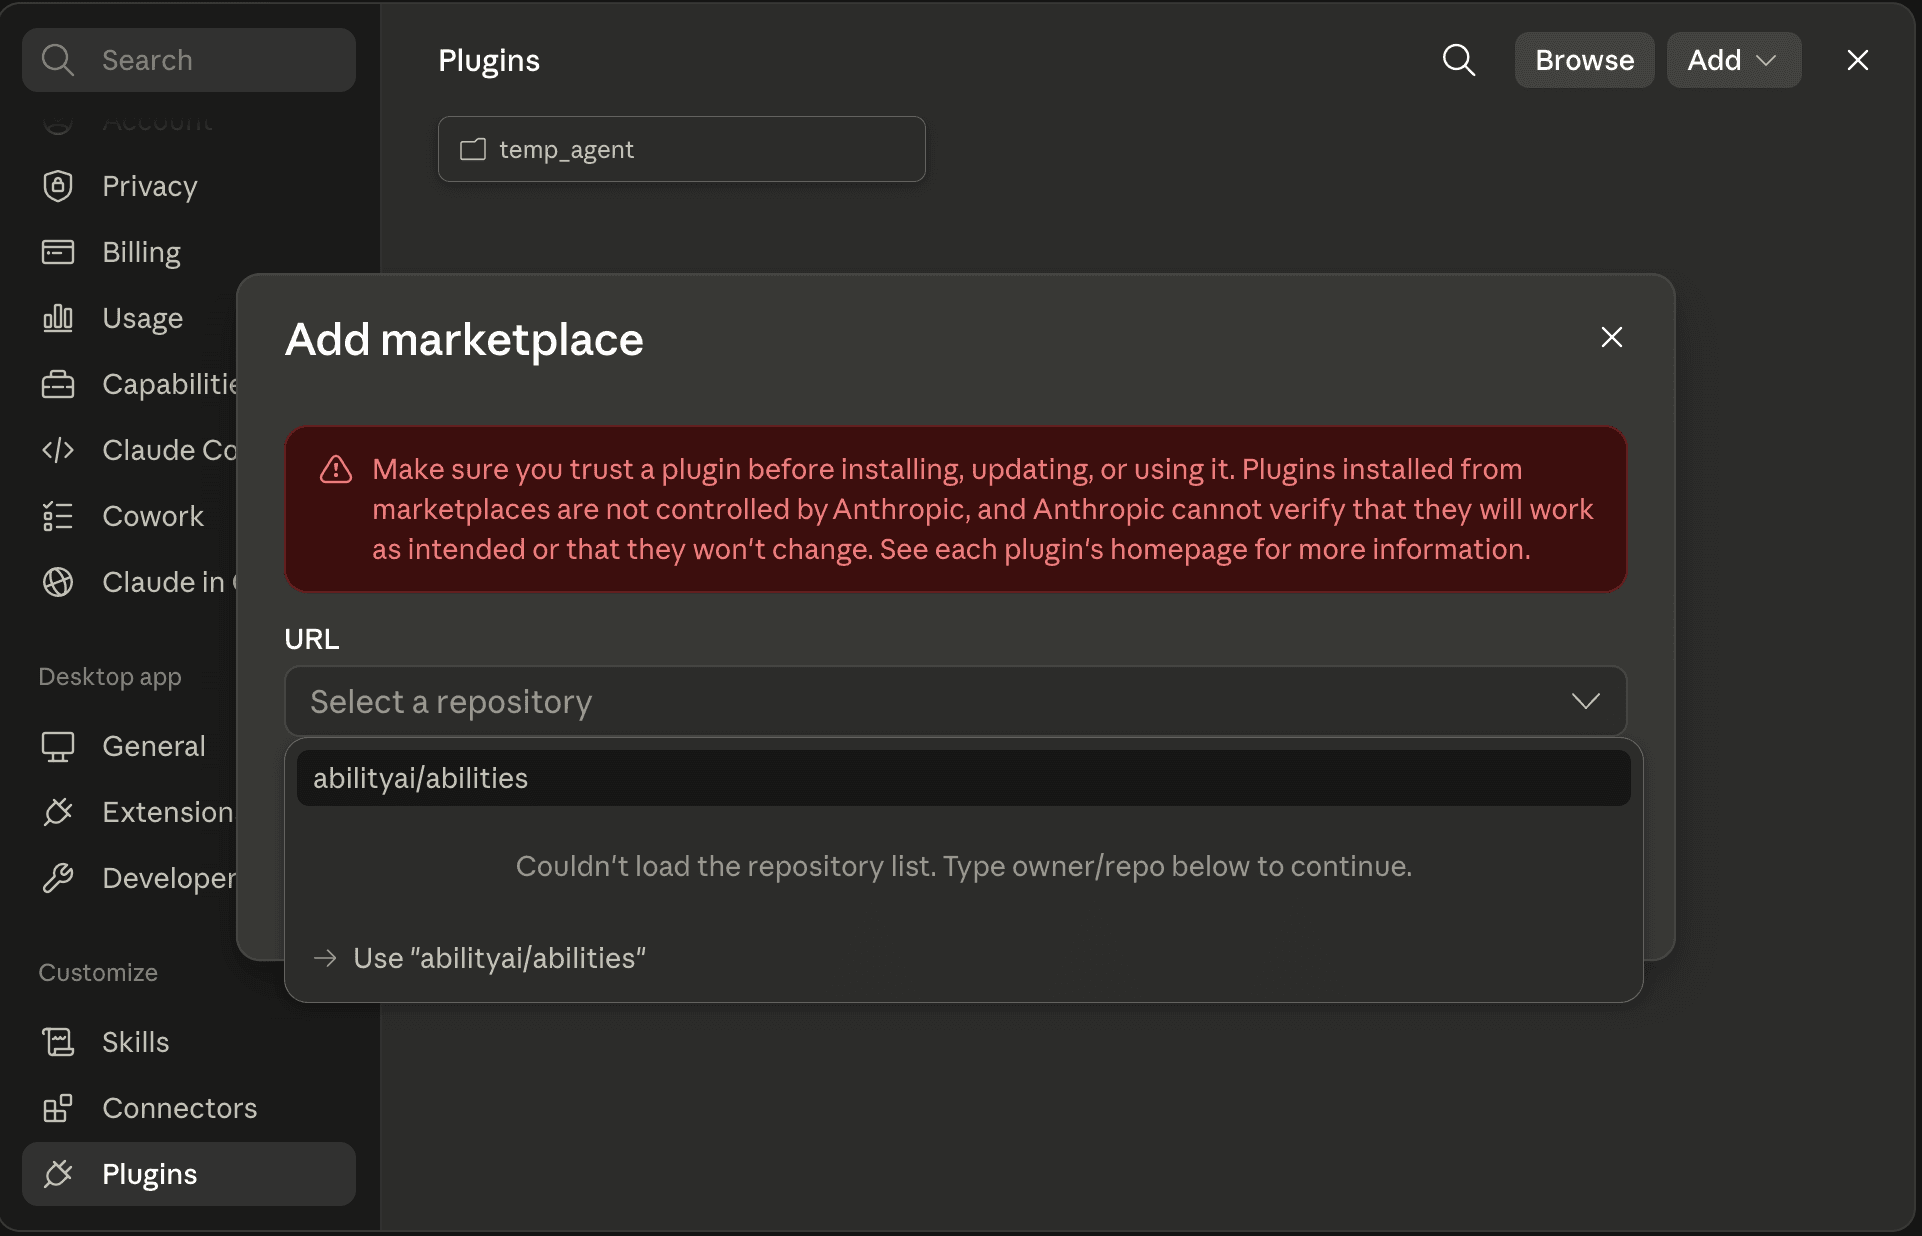
In the URL field, type abilityai/abilities. If the repository list doesn't load, click Use “abilityai/abilities” to continue.
Sync the marketplace
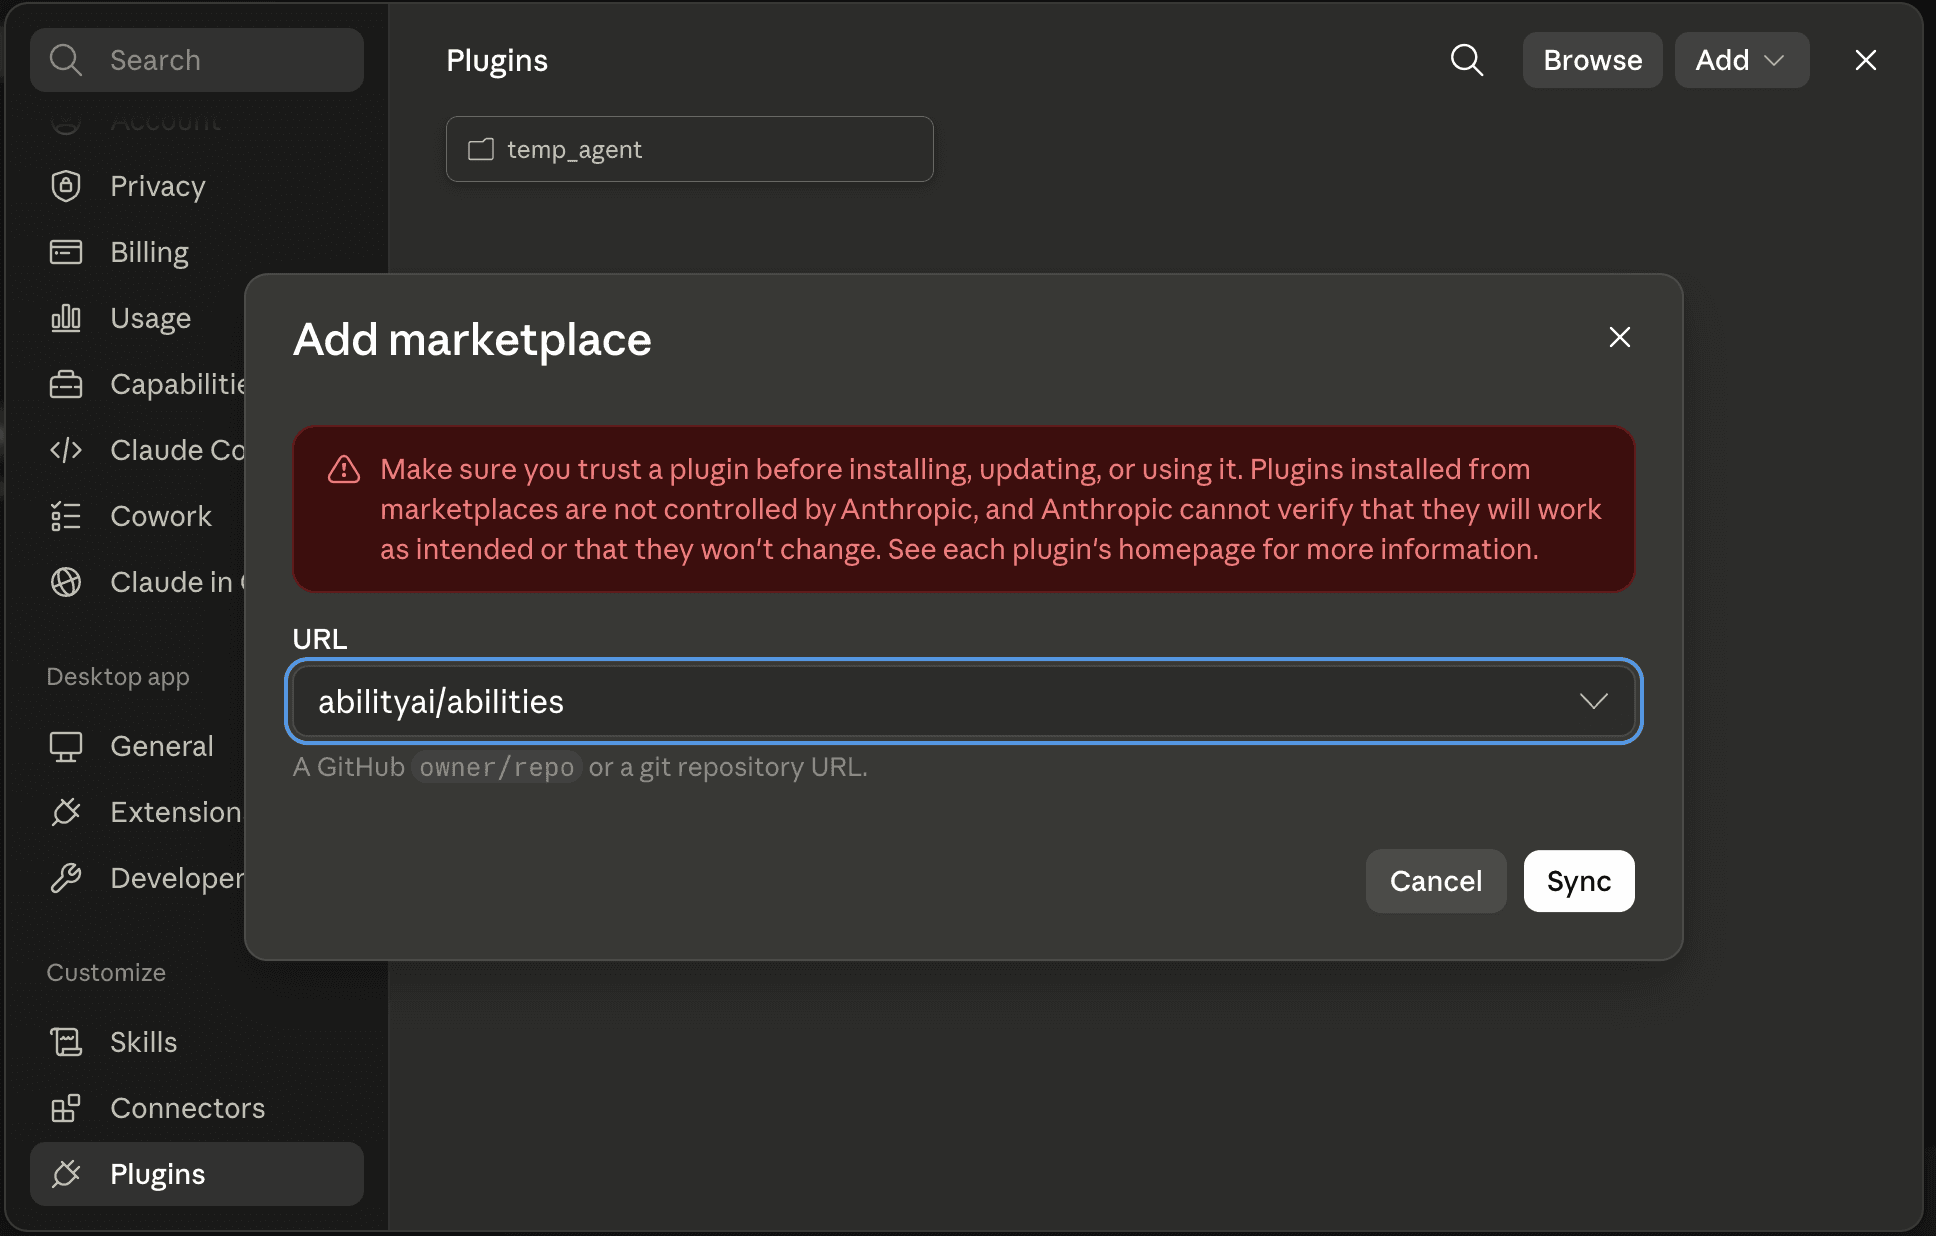
Click Sync. Only add marketplaces you trust — plugins run with your permissions and are not vetted by Anthropic.
Install the plugins
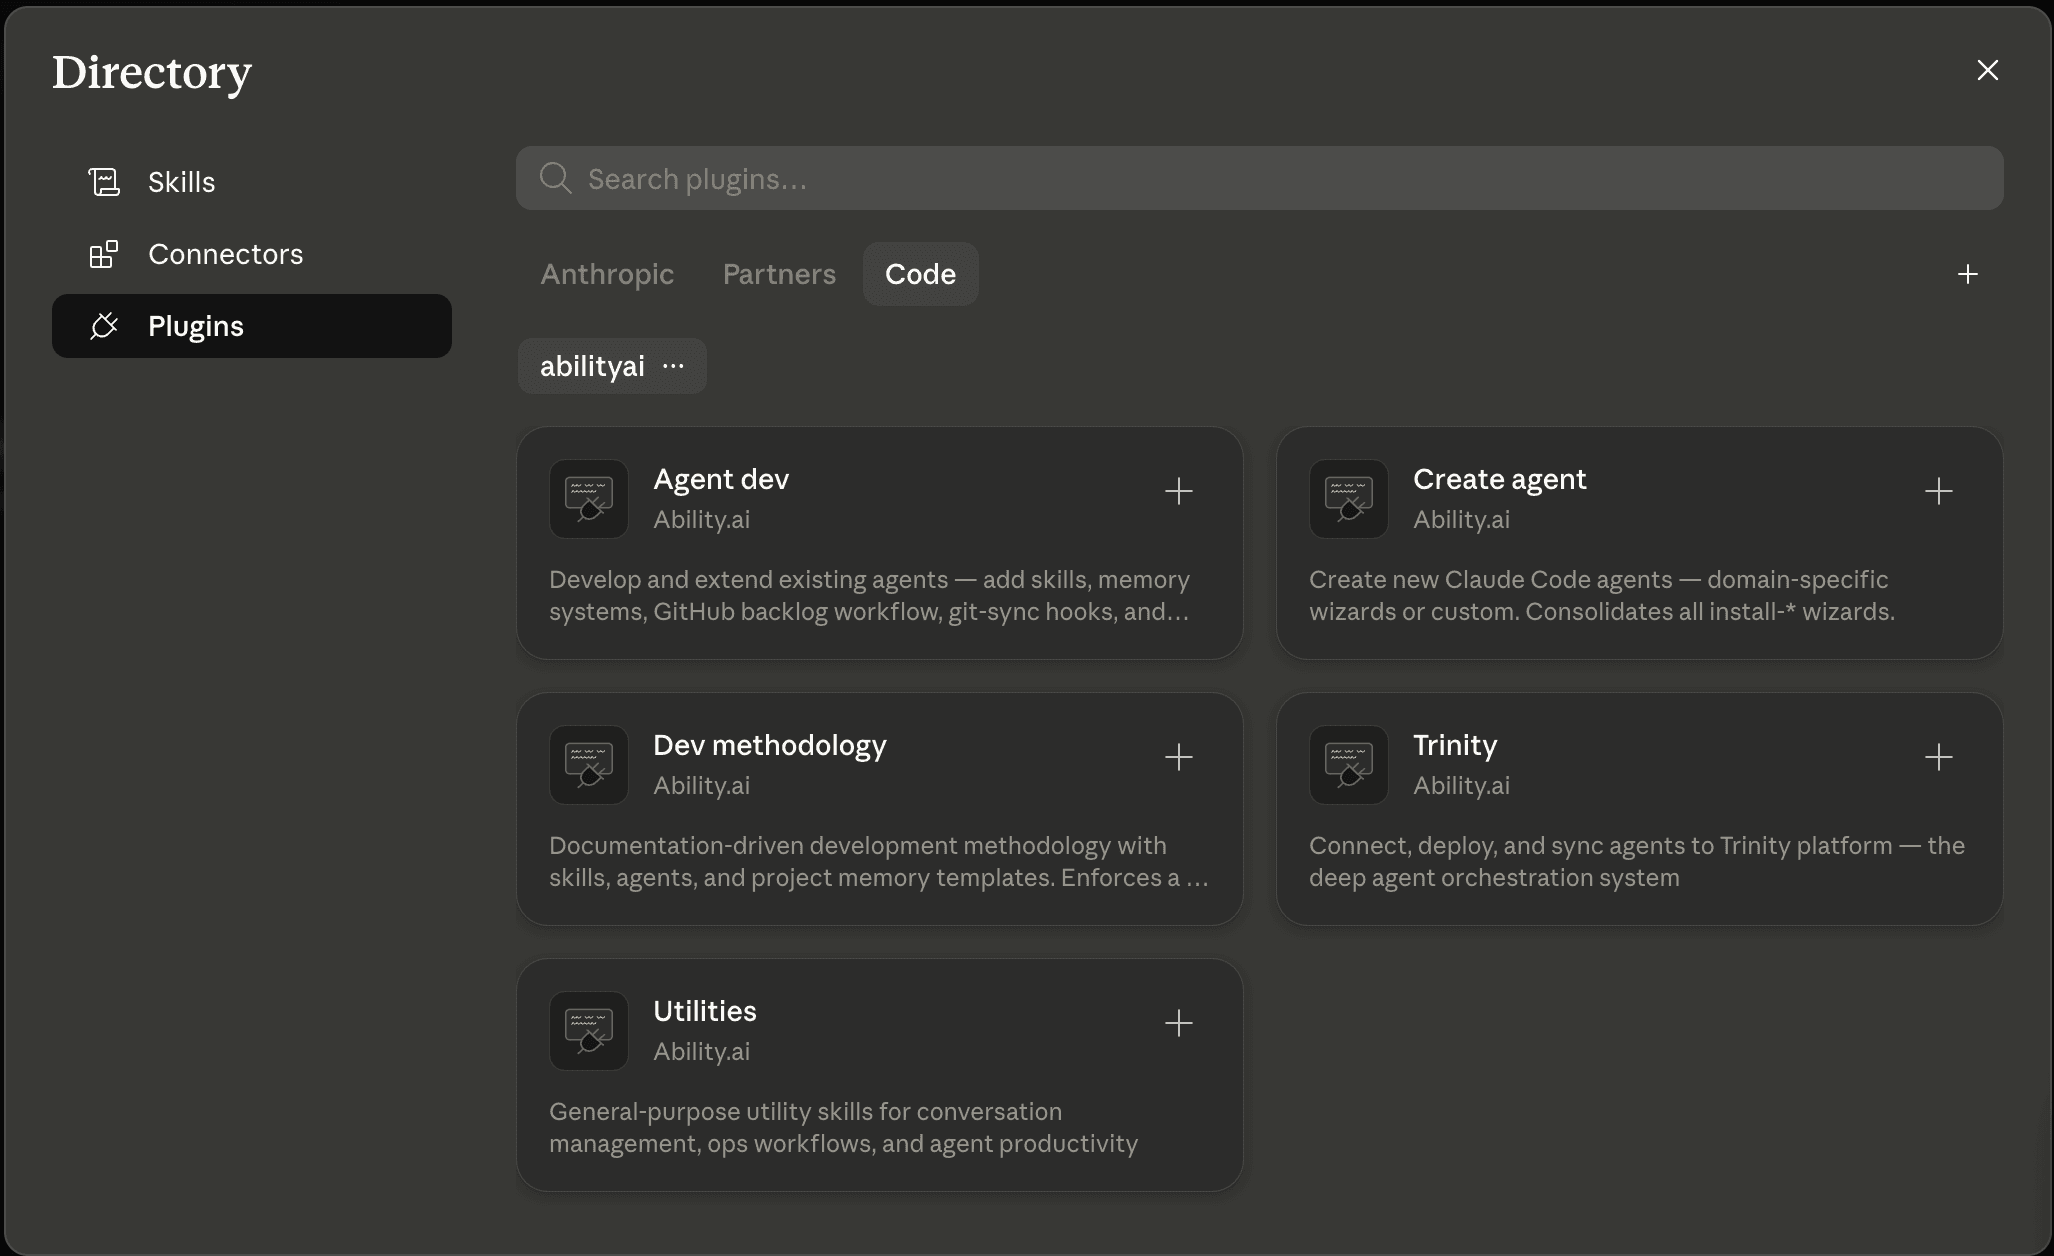
The Directory opens with the Ability.ai plugins — Create agent, Agent dev, Dev methodology, Trinity, and Utilities. Click the + on each one to install it. Its skills become available as / commands right away.
Available Plugins
| Plugin | Version | Skills | Purpose | Key Skills |
|---|---|---|---|---|
| create-agent | 2.0.0 | 6 | Agent creation - interview-driven, any domain | /create-agent:custom, /create-agent:review |
| agent-dev | 1.16.1 | 30 | Extend existing agents, and work fleet-wide | /agent-dev:create-playbook, /agent-dev:add-memory, /agent-dev:add-project-management, /agent-dev:add-orchestrator, /agent-dev:add-canon, /agent-dev:agent-fleet-analysis |
| trinity | 2.9.0 | 7 | Deploy to and operate on Trinity | /trinity:start-here, /trinity:connect, /trinity:onboard, /trinity:sync, /trinity:loop |
| dev-methodology | 1.2.1 | 24 | Development workflow | /dev-methodology:implement, /dev-methodology:validate-pr |
| utilities | 1.2.2 | 7 | Ops and productivity | /utilities:safe-deploy, /utilities:docker-ops |
| add-project-management | — | — | Deprecated — moved into agent-dev; the stub installs nothing. Existing installs of the old name keep working for one release — switch, then uninstall it. | /agent-dev:add-project-management |
The standalone add-project-management plugin is deprecated — it is a pointer stub that installs nothing. Its skill lives in agent-dev: /agent-dev:add-project-management. Existing installs of the old name keep working for one release — switch, then uninstall it.
The Agent Development Workflow
Abilities supports a four-step workflow:
1. Scaffold              2. Develop                    3. Deploy                    4. Iterate
/create-agent:*          /agent-dev:create-playbook    git push → /trinity:onboard  git push → /trinity:sync
                         /agent-dev:add-memory         (or onboard in place)        /create-agent:review
/agent-dev:add-backlog /create-agent:adjust/create-agent:custom to get a fully configured agent for any domain (/create-agent:website scaffolds a site with no agent)/agent-dev:create-playbook to add capabilities, /agent-dev:add-memory for persistence, and /agent-dev:add-backlog (the agent's own dev backlog) or /agent-dev:add-project-management (cross-actor projects) for task management/trinity:connect once to authenticate, push the agent's repo, then /trinity:onboard per agent - Trinity clones the repo and tracks the branch. An agent that is already deployed from a bare repo can be onboarded in place by running /trinity:onboard inside it/trinity:sync, which also reconciles declared schedules and plugins onto the instance. Use /create-agent:review and /create-agent:adjust to audit and improveWhat Wizard-Created Agents Include
Every agent created with /create-agent:custom includes:
onboarding.json + /onboarding skilldashboard.yaml + /update-dashboard skilltemplate.yaml (declaring credentials, schedules:, and plugins:), .env.example, .mcp.json.template